Play Sony XAVC MXF files on a Mac, without converting them
Ahmed El Araby · Updated
You’ve come back from a shoot, plugged in the card and Finder shows a folder of grey icons. Quick Look does nothing. QuickTime Player says it can’t open the file. The footage is fine. The Mac just hasn’t been taught how to show it to you.
This page explains which Sony cameras cause this, why, what the usual fixes cost you and how RawTake plays the files as they are.
Which Sony cameras write MXF and which don’t
Not every Sony camera has this problem. It comes down to the wrapper the video travels in.
| Camera | Recording format | Wrapper | Opens in QuickTime? |
|---|---|---|---|
| FX6, FX9, FS7, FS5 | XAVC-I, XAVC-L | MXF | Not without help |
| BURANO, VENICE, F55 | XAVC-I (BURANO also XAVC-L and XAVC H) | MXF | Not without help (X-OCN is a different thing, see below) |
| FX3, FX30, A7S III, A7 IV, A1 | XAVC S, XAVC HS, XAVC S-I | MP4 | Usually, yes |
If you shoot an FX3 or an A7S III, your files are MP4 and this page mostly isn’t about you, though everything below about reviewing a full shoot still applies.
Why the Mac won’t open them
The picture inside most Sony MXF files is ordinary H.264 video. Nothing exotic. The wrapper is MXF, a broadcast container that macOS doesn’t understand out of the box. So Finder, Quick Look and QuickTime Player see a file they can’t read and you get the grey icon. Nothing is broken and you don’t need a “codec pack”.
Apple’s free add-on and why it isn’t enough on its own
Apple publishes a free download called Pro Video Formats. It teaches the Mac the professional formats Final Cut Pro needs, including Sony XAVC. Apple says it lets Final Cut Pro, Motion and Compressor work with MXF files. It’s on Apple’s support site.
Outside Apple’s own pro apps it’s inconsistent. Some XAVC MXF files open, some show up as audio only and people report QuickTime and Finder still refusing them. It doesn’t open Sony’s X-OCN raw format either.
So the add-on is the right foundation. It just needs an app that uses it properly.
What people usually do and what it costs
Convert everything first. A whole industry of “MXF converter” apps exists for this. Every clip is re-encoded: hours of machine time, a second copy of the shoot on your drive and a generation of quality lost before you’ve looked at a single frame.
Open an editing program. DaVinci Resolve and Premiere both read MXF. But launching a full editing app, making a project and importing a shoot just to find out what’s on it is slow and playback of raw Sony files inside it is often still choppy.
Sony’s own viewer. Catalyst Browse is free and plays the files. It’s a viewer first.
How RawTake plays them
RawTake uses Apple’s free add-on and registers its decoders with the Mac as it starts, so Sony, Canon and ARRI MXF files play inside RawTake as they are: no conversion, no project, no proxy. The picture you’re watching is the camera original and every mark you make lands on the exact frame on screen.
If the add-on isn’t installed yet, RawTake tells you at the moment it matters and links you to Apple’s download. Until then it prepares a preview copy first: the same frames, re-wrapped rather than re-encoded, kept out of sight. It’s slower but it works. Your marks, renders and timelines always read the original.
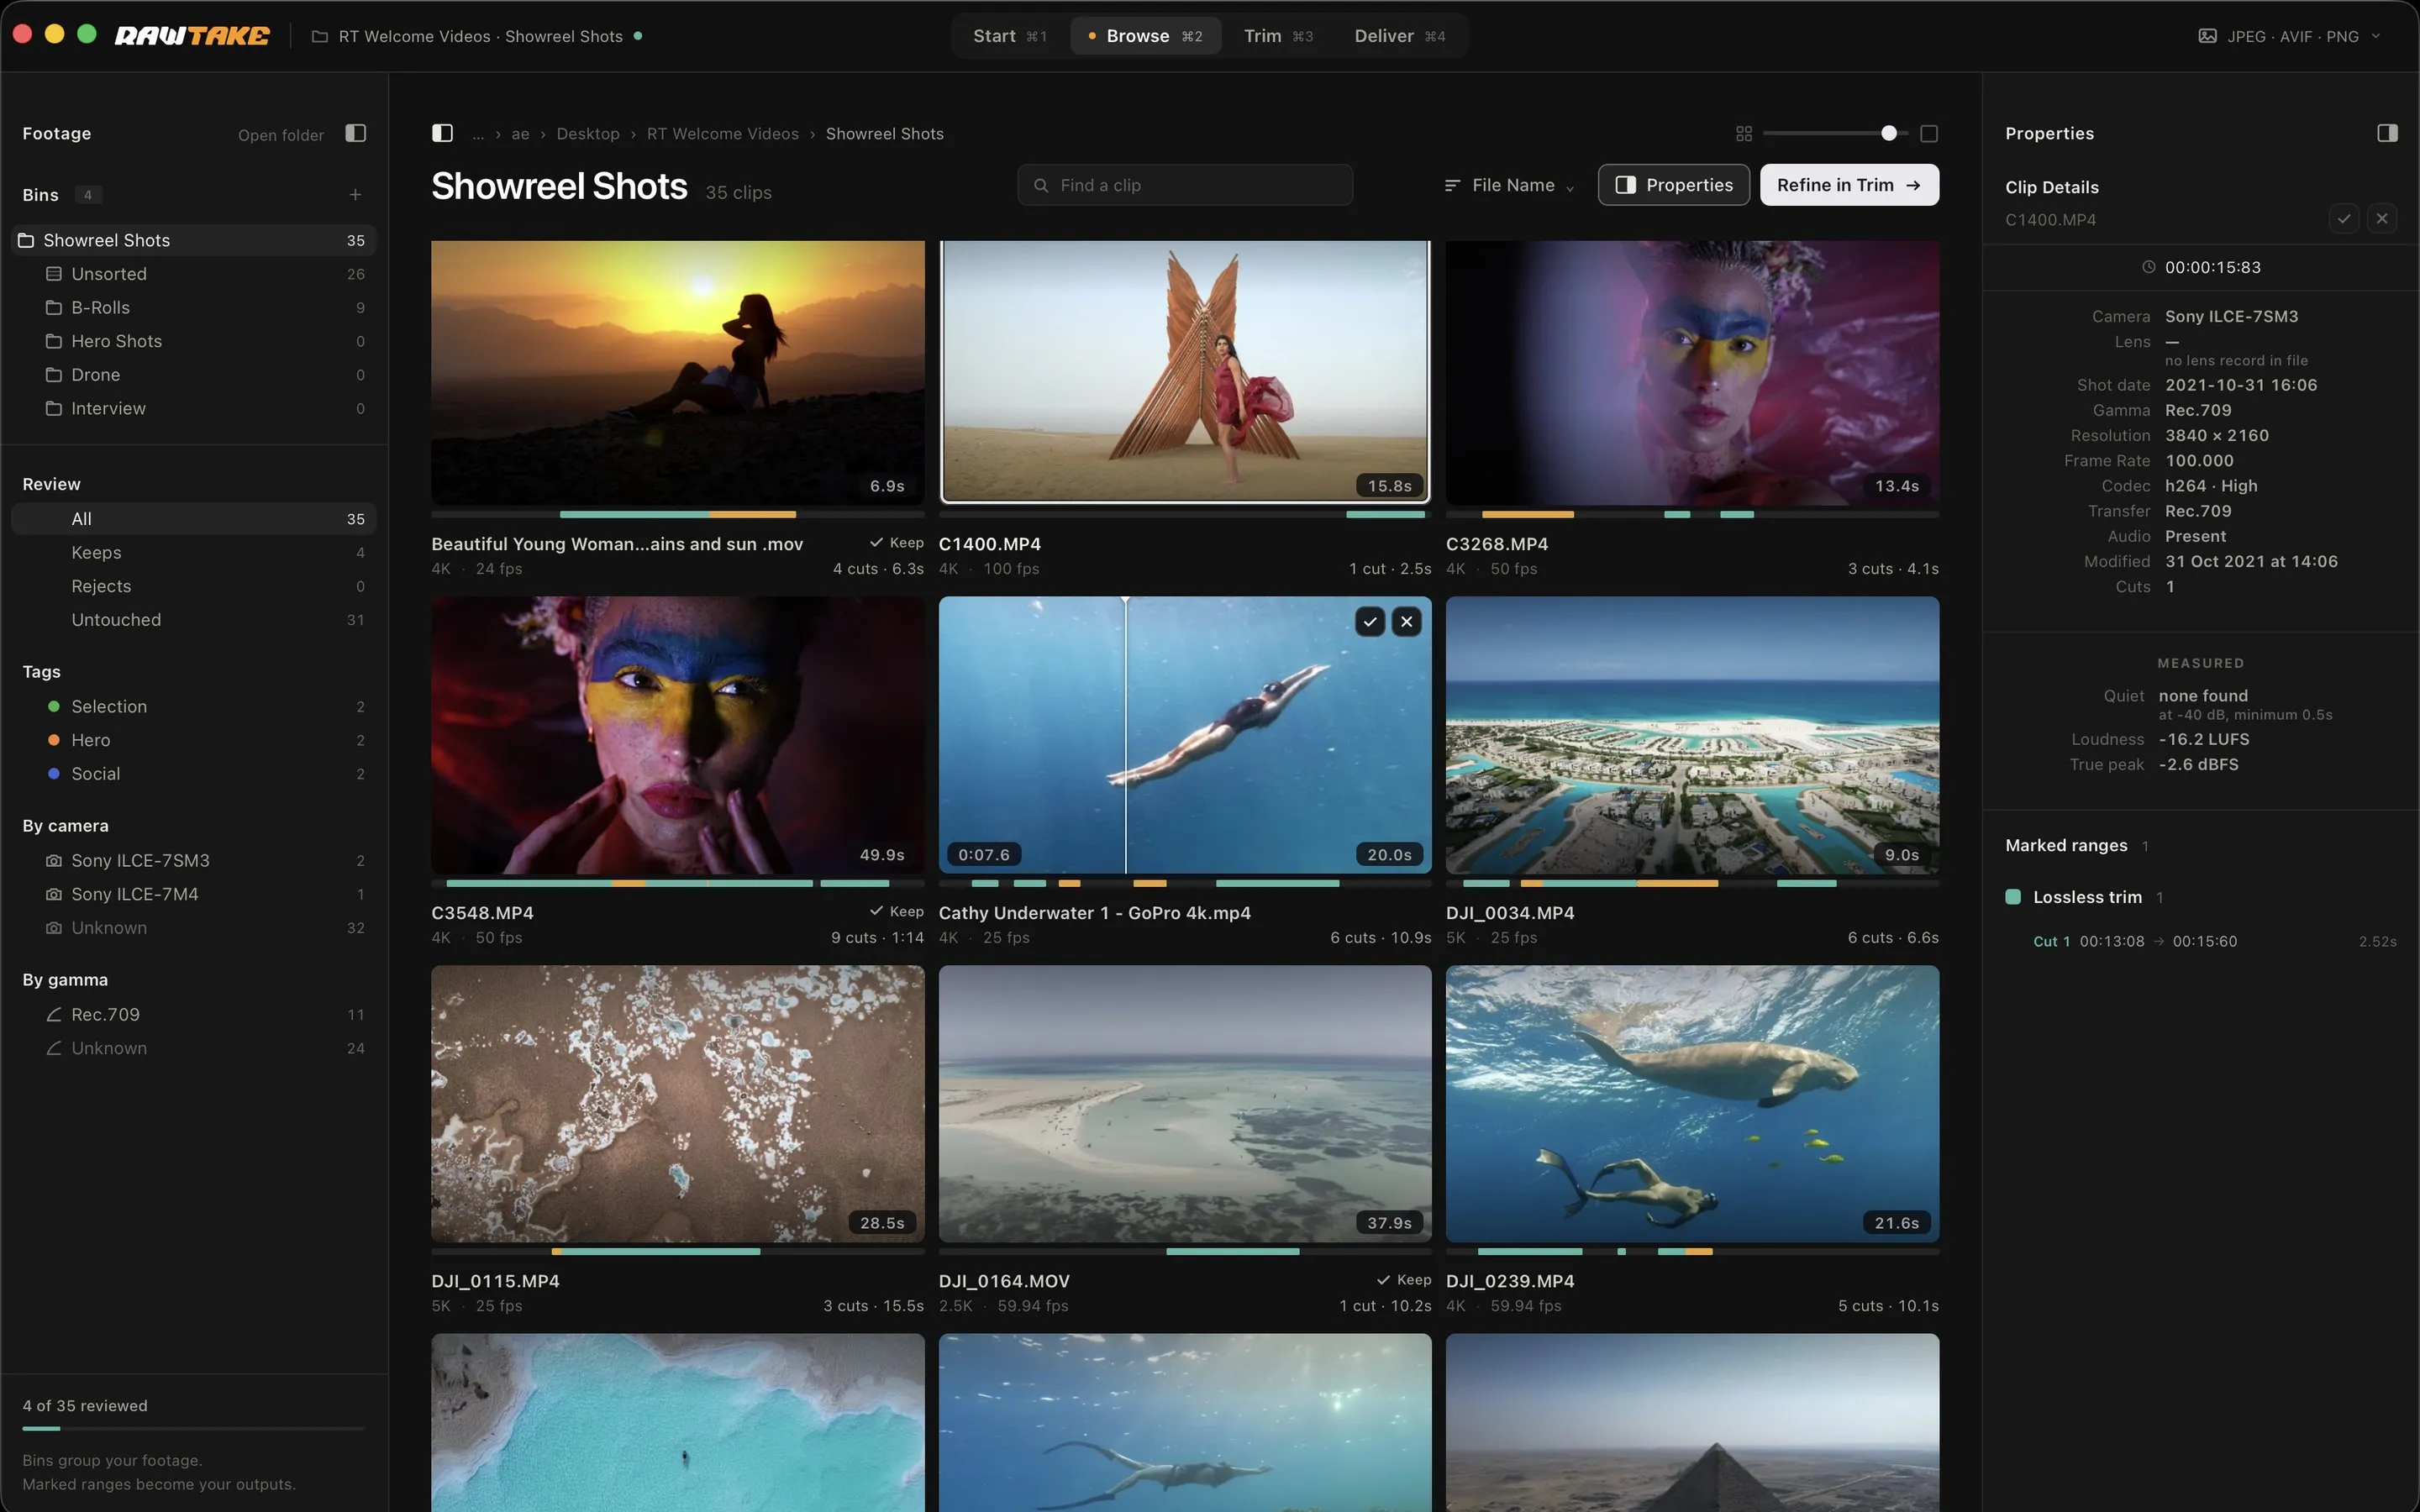
What it looks like in practice:
- Open the camera card or folder. Every clip appears as a poster.
- Move across a poster to scrub through the clip without opening it.
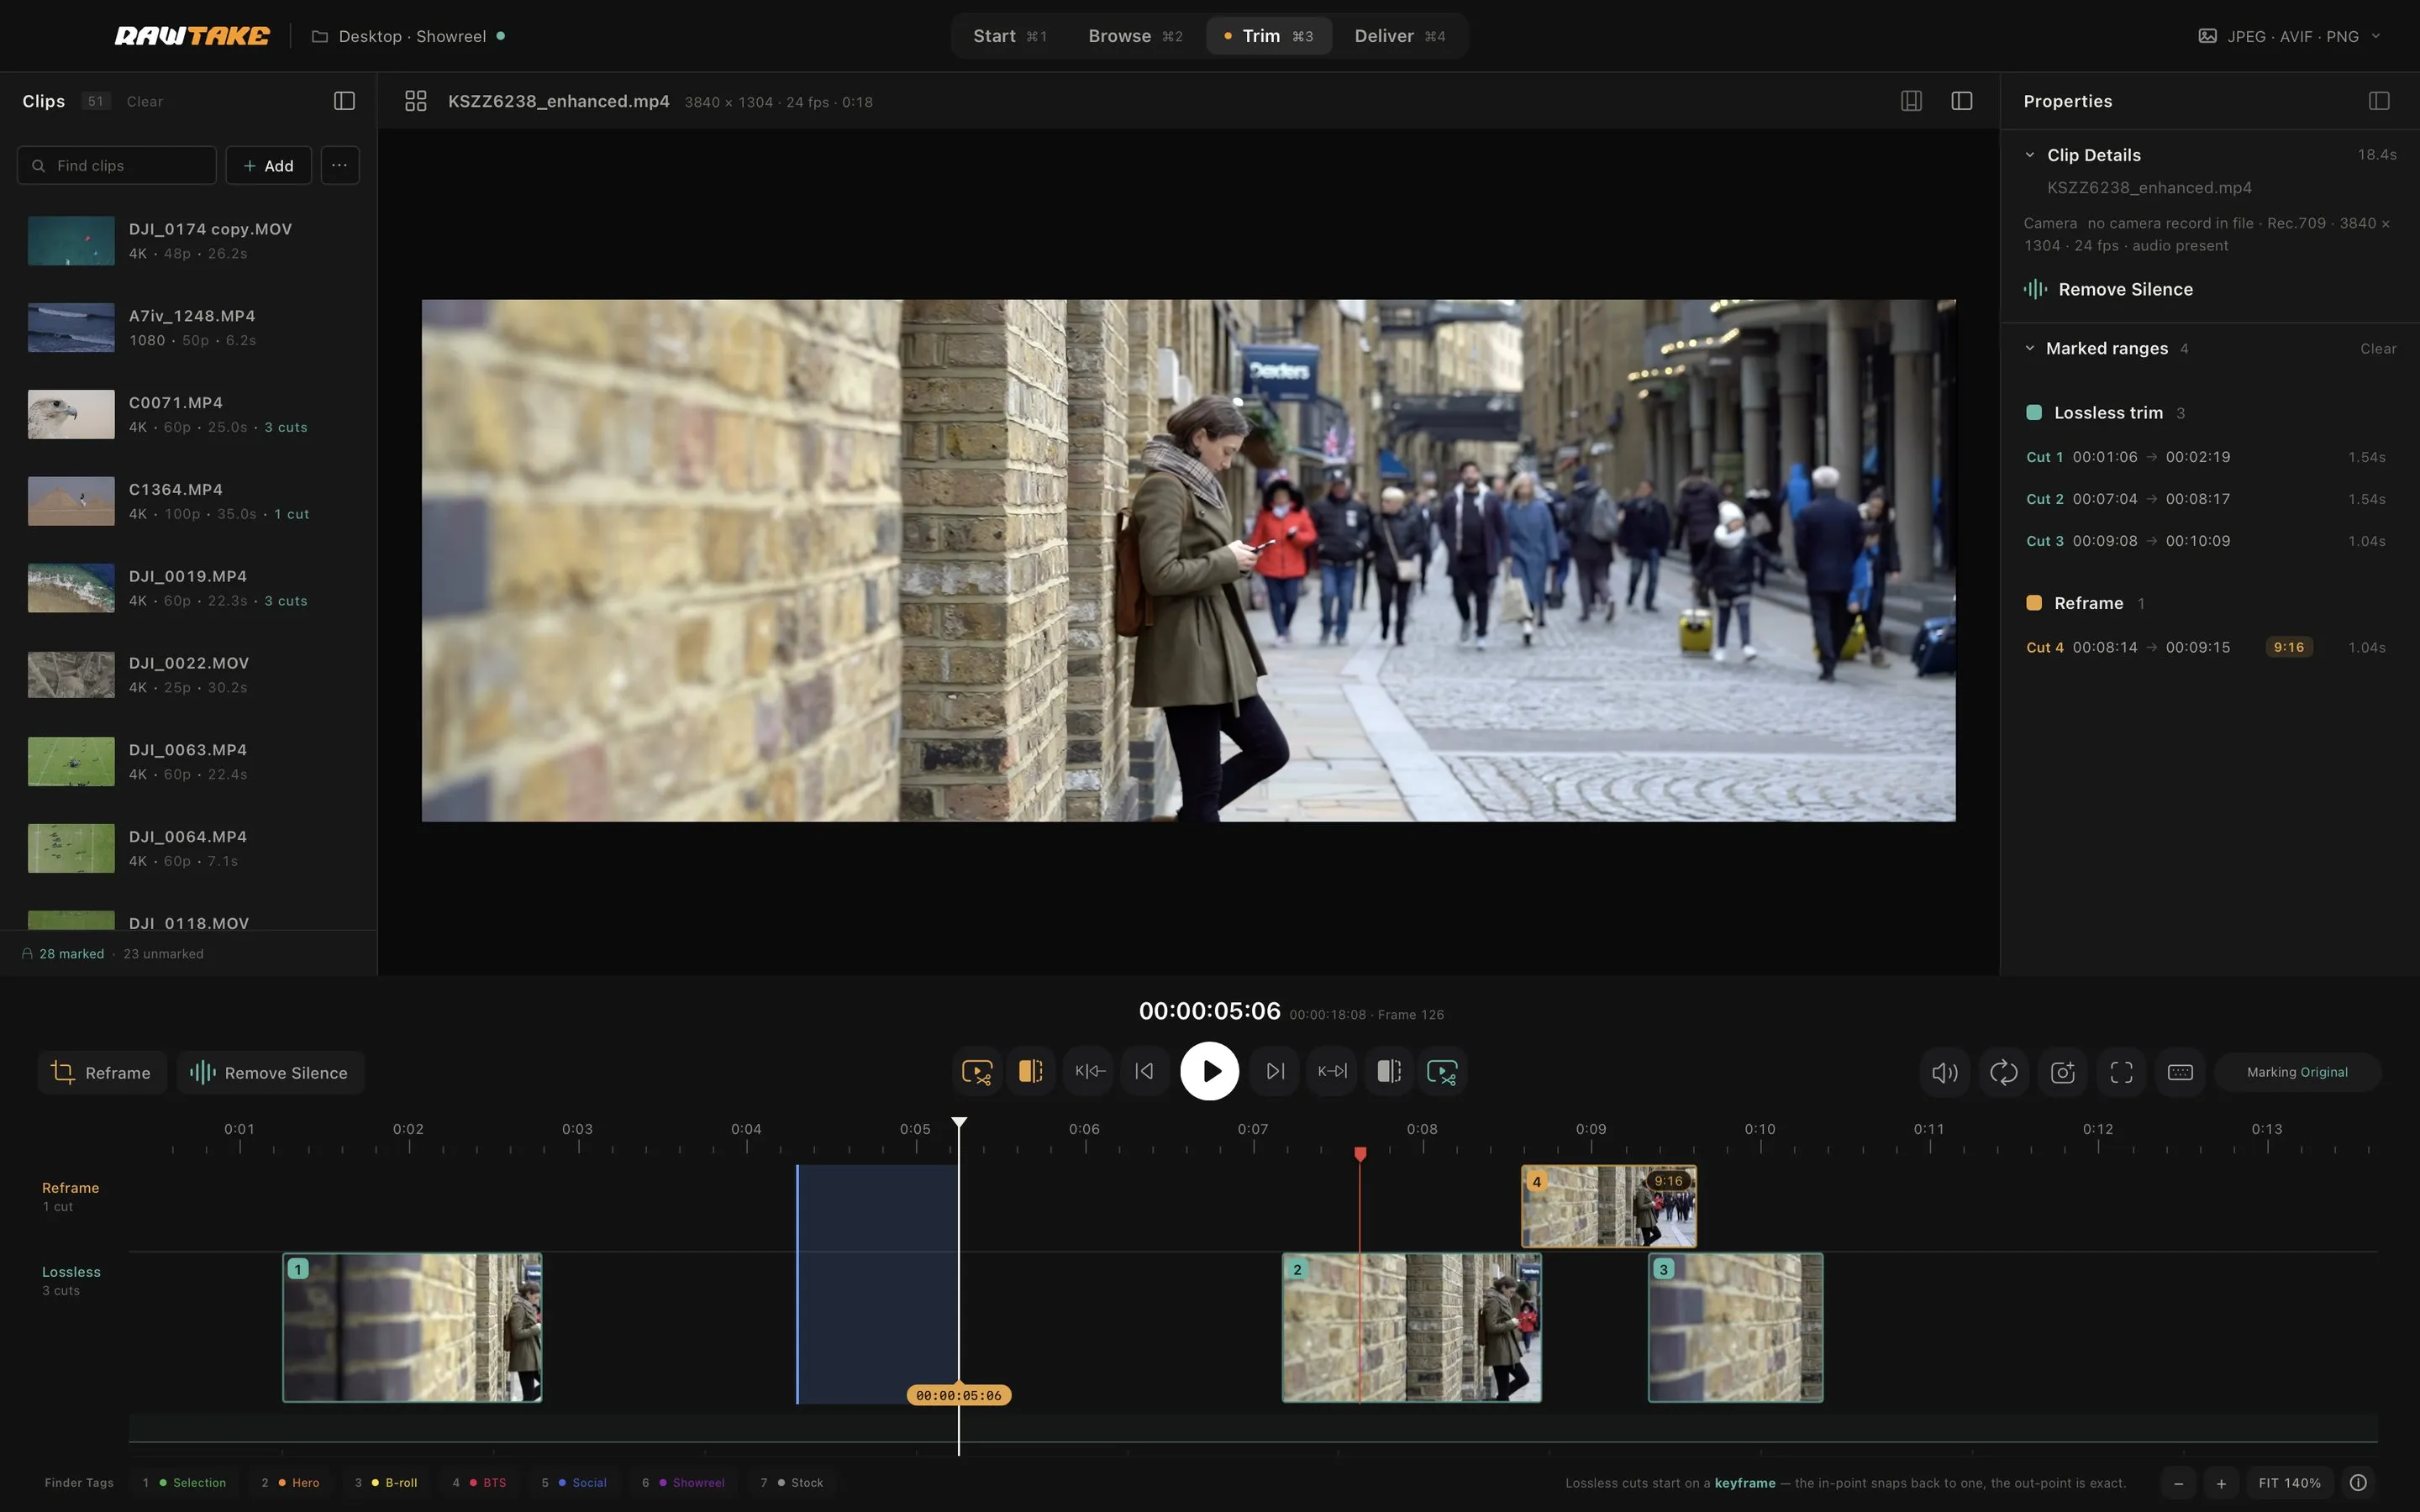
- Click where the good bit starts and click where it ends. Or open the clip and press I and O. Press C if you need a vertical or square reframe.
- Run the queue. Plain trims are copied byte for byte from the original: no re-encode, no quality loss. Reframes are encoded once through the Mac’s hardware encoder.
- Clean files land in a new folder. The originals are never changed.
Formats
| Source | Wrapper | In RawTake |
|---|---|---|
| Sony XAVC-I (FX6 and other MXF cameras) | MXF | Plays, with Apple’s free Pro Video Formats add-on |
| Sony XAVC S / HS / S-I (FX3, FX30, A7S III and similar) | MP4 | Plays |
| Canon and ARRI MXF | MXF | Plays, with Apple’s free Pro Video Formats add-on |
| Apple ProRes from iPhone and Atomos recorders | MOV | Plays |
| DJI drones and Osmo (H.264 / HEVC) | MP4 | Plays |
| Standard H.264 / HEVC | MP4 / MOV | Plays |
| Sony X-OCN, Blackmagic RAW, RED R3D, Nikon N-RAW, ARRIRAW | Not supported. RawTake says so on the clip instead of showing a black frame. |
One honest limit
Lossless trims start on a keyframe. A byte-for-byte copy can only begin on a complete frame, so a plain trim can include a little extra footage before your mark: on Sony XAVC-I it starts exactly on your mark, on long-GOP Sony usually under half a second early and up to about a second on some other footage. Your mark never moves, nothing you marked is lost and the queue shows exactly where each file starts. If you need a frame-exact edge, add a reframe. That segment is re-encoded and cuts on the frame.
Not for you if
You want to edit, colour or mix. RawTake has no effects, transitions, colour grading or audio editing. It does the work before the edit: review, select, reframe, deliver. When you’re done, it hands your editor a timeline that points straight at the camera originals, in DaVinci Resolve or Premiere Pro.
If you’re weighing it against a tool you already use, see RawTake vs LosslessCut and RawTake vs Kyno.